
Call Now

How to Wire an Outlet: 7 Safe Steps Every Homeowner Should Know
How to Wire an Outlet: 7 Safe Steps Every Homeowner Should Know
Whether you’re replacing an old outlet or adding a new one, wiring an electrical outlet can feel like a “simple DIY project.” But here’s the truth: small mistakes can lead to shocks, fires, or costly repairs.
If you’ve ever searched online for how to wire an outlet and felt overwhelmed by diagrams, technical terms, or conflicting advice—you’re not alone. At PowerMeans Electric, we help homeowners across Dripping Springs and the Texas Hill Country stay safe, up to code, and confident in their electrical systems.
This guide walks you through the tools you’ll need, seven safe wiring steps, troubleshooting tips, and when it’s time to call a licensed electrician.
First Things First: Is It Legal (and Safe) to Wire an Outlet Yourself?
Yes—Texas law allows homeowners to perform electrical work on their own homes. But here’s the catch: all installations must follow the National Electrical Code (NEC). That means even if you’re confident with tools, you need to be absolutely sure your wiring is up to standard.
Review the NEC standards here.
Safety Warning: Improper wiring is one of the leading causes of U.S. house fires. Even something as “small” as reversing the hot and neutral wires can put your home and family at risk.
If you’re unsure about your home’s wiring, grounding, or breaker panel, it’s best to schedule a professional electrical inspection before attempting a project like this.
Texas law lets homeowners do electrical work on their own homes. However, all installations must follow the National Electric Code (NEC) standards. If you are not sure about your home’s wiring, grounding, or breakers, get a professional inspection. This is important to ensure safety.
Warning: Improper wiring is a leading cause of house fires. Even something as small as reversing the hot and neutral wires can put your home and family at risk.
Tools & Materials You’ll Need
Before you start, gather everything in one place. Having the right tools keeps you safe and avoids mid-project frustration.
- Voltage tester (non-negotiable!)
- Wire cutters/strippers
- Needle-nose pliers
- Flathead & Phillips screwdrivers
- Electrical outlet (15A or 20A, depending on circuit)
- Electrical box (if installing new)
- Wire nuts & electrical tape
- 14-gauge or 12-gauge wire (based on breaker)
- Wire labels or colored tape (optional, but great for beginners)
Not sure what kind of outlet you need? Check out our post: Do I Need GFCI Outlets?
How to Wire an Outlet in 7 Safe Steps
1. Turn Off Power at the Breaker
Go to your electrical panel and switch off the breaker controlling the outlet you’ll work on. Don’t trust the breaker label alone—they’re often wrong.
Use your voltage tester at the wall to confirm no power is running to the wires. Test the tester on a known live outlet first so you know it’s working.
Common Mistake: Skipping the tester. Never assume power is off just because a breaker is flipped.
2. Remove the Existing Outlet (if replacing)
Unscrew the faceplate, then carefully pull the outlet from the box.
📸 Pro Tip: Snap a quick photo of the wire connections before disconnecting. If you get confused later, you’ll have a reference.
Disconnect wires by loosening the terminal screws. If they’re pushed into backstab holes, release them by inserting a small screwdriver into the release slot.
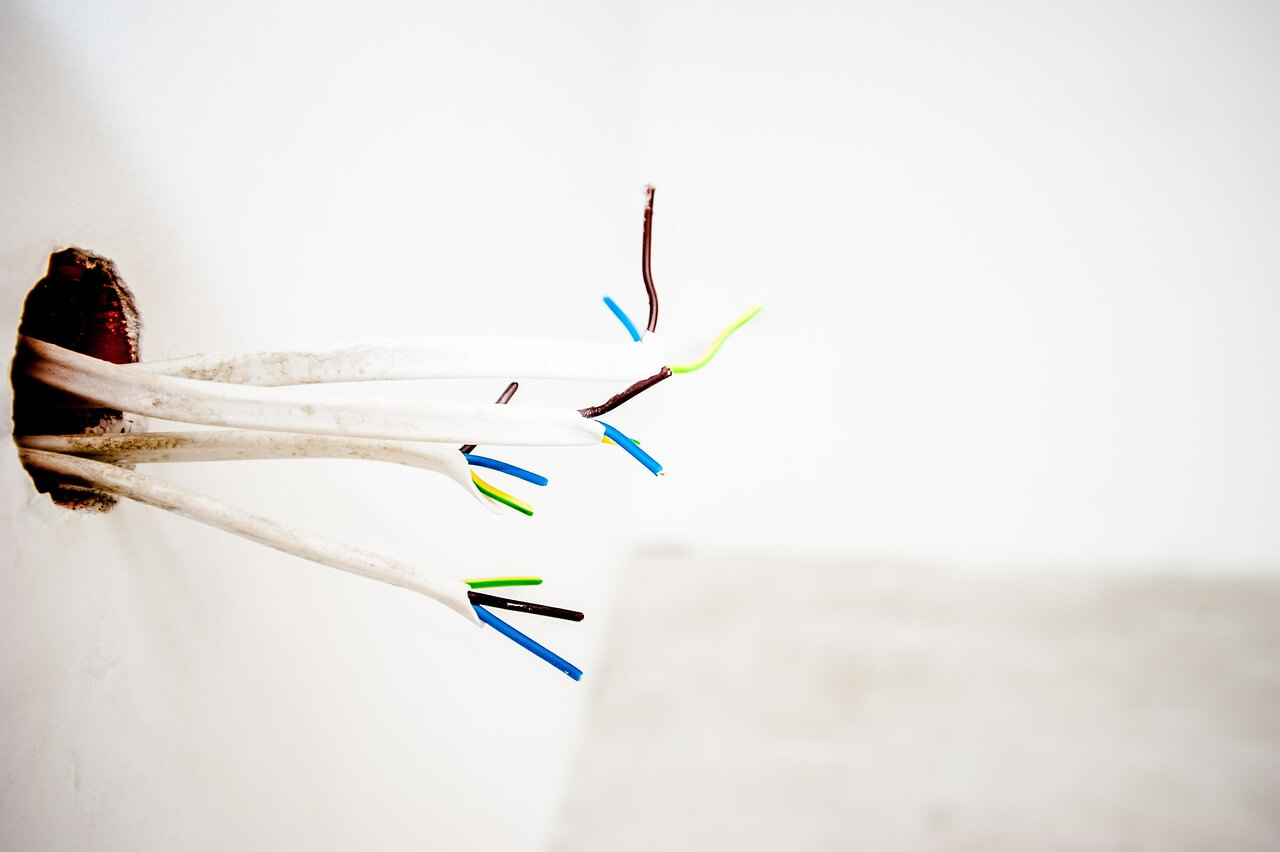
3. Identify the Wires
In most U.S. homes, you’ll see:
-
Black (Hot) → carries power
-
White (Neutral) → completes the circuit
-
Bare/Green (Ground) → safety grounding wire
If you see red wires or aluminum wiring, stop and call an electrician. These indicate a more complex or older system.
Unsure what type of outlet fits your space? Read: 5 Essential Reasons You Need GFCI Outlets for Outdoor Safety.
4. Strip the Wires
Using your wire stripper, remove about 3/4 inch of insulation from each wire.
-
Be gentle—don’t nick or damage the copper.
-
If the wire looks old or frayed, cut it back to fresh copper before stripping.
Pro Tip: When stripping multiple wires, label them with tape so you don’t mix them up.
5. Attach the Wires to the New Outlet
Here’s the standard configuration:
-
Black (Hot) → Brass screw
-
White (Neutral) → Silver screw
-
Bare/Green (Ground) → Green screw
Make a small hook in each wire, loop it clockwise around the screw, and tighten firmly. This ensures the loop tightens as you screw it down.
Common Mistake: Looping counterclockwise. This causes the wire to loosen as you tighten the screw.
6. Secure the Outlet in the Box
Gently fold the wires back into the electrical box—don’t force or bend too sharply.
Mount the outlet with its screws, then add the faceplate. Everything should sit flush against the wall.
7. Turn Power Back On & Test
Go back to the breaker, flip it on, and test the outlet:
-
Use a voltage tester or plug in a lamp/phone charger.
-
If you see sparks, hear popping, or the breaker trips—cut power immediately and call a pro.
Standard vs. GFCI: Which Should You Use?
Not all outlets are created equal. If your outlet is in a kitchen, bathroom, garage, laundry room, or outdoor space, it likely needs GFCI protection to meet code.
-
Standard Outlet: For bedrooms, living rooms, offices.
-
GFCI Outlet: For anywhere near water or damp conditions.
Want a deeper dive?
Troubleshooting Common Outlet Wiring Problems
Even after careful installation, you may notice:
- Outlet doesn’t work → Wires may be loose or misconnected.
- Breaker trips immediately → You may have a short circuit or reversed wires.
- Warm or buzzing outlet → Dangerous condition. Cut power and call a pro.
- Two-prong outlet in old home → Needs upgrading to grounded three-prong for safety.
👉 When in doubt, schedule a professional inspection.
When to Call a Licensed Electrician
While it may seem like a basic DIY project, wiring an outlet incorrectly can have serious consequences. You should definitely call a pro if:
- You have aluminum wiring
- You’re adding a new circuit or outlet location
- You need GFCI or AFCI protection
- The breaker trips immediately
- You’re working in a wet area (bathroom, laundry room, exterior wall)
At PowerMeans Electric, we can wire or replace outlets across your home quickly, safely, and up to code.
Contact us today for outlet upgrades, repairs, or whole-home inspections.
Final Thoughts: Wiring an Outlet the Right Way
Wiring an outlet isn’t rocket science—but it isn’t something to take lightly either. Done correctly, it’s a simple way to improve your home. Done incorrectly, it can create hidden fire hazards.
The 7 safe steps are:
- Turn off power at the breaker
- Remove the old outlet
- Identify the wires
- Strip insulation carefully
- Attach wires correctly
- Secure the outlet in the box
- Restore power and test
If you’re unsure about your skills, your wiring, or NEC code requirements, it’s always safer to call a professional.
When Power Means More, Call PowerMeans Electric. Reliable. Responsive. Respectful. Every time.
Need help with this?
Our licensed electricians can handle your wiring and safety needs safely.
Have an Emergency?
Don’t risk DIY on dangerous electrical issues. We are available 24/7.
(737) 263-5823
Licensed & Insured